how to set up the k10 laser engraver
Introduction
The K10 Laser Engraver is a versatile tool widely used in various industries for precision cutting and engraving. Its ability to produce intricate designs with high accuracy makes it a preferred choice among professionals and hobbyists alike. Setting up the K10 Laser Engraver properly is crucial to ensure optimal performance and extend its lifespan. This comprehensive guide provides a step-by-step approach to setting up your K10 Laser Engraver, covering everything from initial preparations to software configuration and maintenance.
Understanding the nuances of laser engrave cutting techniques can significantly enhance the quality of your work. With the proper setup, the K10 Laser Engraver can achieve remarkable precision, making it essential to follow the guidelines meticulously.
Understanding the K10 Laser Engraver
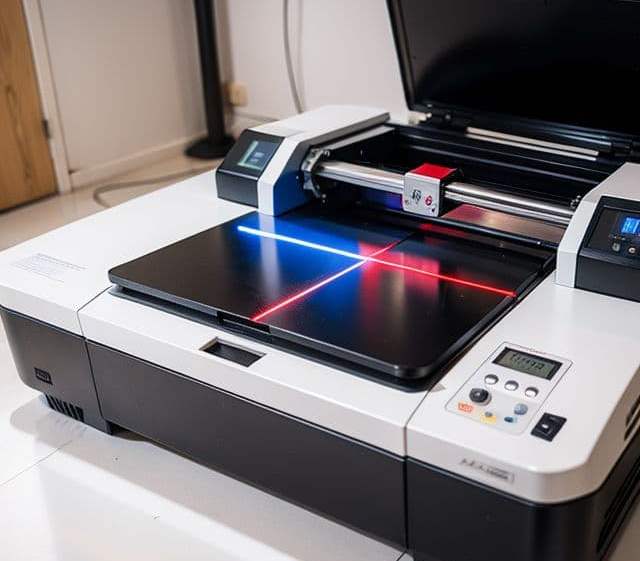
The K10 Laser Engraver is equipped with advanced features that cater to both novice and experienced users. It utilizes a high-powered laser beam to cut and engrave materials such as wood, acrylic, leather, and certain metals. The machine’s precision is attributed to its sophisticated control system and high-quality laser components.
Key Features
Some of the standout features of the K10 Laser Engraver include adjustable laser power settings, a user-friendly interface, and compatibility with various design software. The machine also boasts safety mechanisms such as emergency stop buttons and protective casings to ensure safe operation.
Applications
The versatility of the K10 Laser Engraver allows it to be used in multiple applications, including signage creation, custom jewelry design, and prototype development. Its precision enables detailed work that is essential in industries like electronics and automotive manufacturing.
Pre-Setup Preparations
Before assembling your K10 Laser Engraver, it’s important to prepare your workspace and gather all necessary materials. A well-organized setup process minimizes errors and ensures a smoother experience.
Workspace Requirements
Select a spacious area with adequate ventilation. Laser engraving can produce fumes and particulates, so proper ventilation is essential for safety. Additionally, ensure the workspace has a stable, flat surface to support the machine’s weight and reduce vibrations during operation.
Safety Equipment
Equip your workspace with fire extinguishers, safety goggles, and gloves. Laser machines can pose risks if not handled properly, so adhering to safety protocols is non-negotiable. Understanding how to use a laser engraving machine safely is paramount for preventing accidents.
Setting Up the Hardware
The hardware setup involves assembling the physical components of the K10 Laser Engraver. Following the manufacturer’s instructions closely ensures that the machine operates correctly.
Unboxing and Inventory Check
Carefully unbox the machine and lay out all parts. Verify that all components are present using the included inventory list. Missing parts can hinder the setup process and potentially damage the machine if operated without them.
Frame Assembly
Assemble the frame by connecting the aluminum profiles using the provided screws and brackets. Ensure all joints are tight and the frame is square. An improperly assembled frame can lead to misalignment issues during operation.
Installing the Laser Module
Mount the laser module onto the designated carriage. Secure it firmly to prevent movement during operation. Connect the laser module to the control board using the appropriate cables, taking care to match the connectors correctly.
Wiring and Cable Management
Organize the wiring using cable ties and protective sleeves. Proper cable management not only enhances the machine’s aesthetics but also prevents accidental disconnections and electrical hazards. Ensure that all connections are secure and that cables do not interfere with moving parts.
Software Installation and Configuration
The K10 Laser Engraver requires specific software to interpret design files and control the machine’s movements. Installing and configuring this software correctly is essential for successful operation.
Choosing the Right Software
Select compatible software such as LaserGRBL or LightBurn, known for their robust features and user-friendly interfaces. These programs allow you to import designs, adjust settings, and control the engraving process. Understanding how laser engraving machines work with different software can help you make an informed choice.
Installing the Software
Download the software from the official website and run the installer. Follow the on-screen instructions to complete the installation. It’s recommended to install any additional drivers or plugins required for full functionality.
Configuring Machine Settings
Upon installation, configure the software’s machine settings to match the K10 Laser Engraver specifications. Input parameters such as workspace dimensions, laser power limits, and motion speeds. Accurate settings ensure that the software communicates effectively with the hardware.
Connecting the Machine to the Computer
Use a USB cable to connect the engraver to your computer. The software should recognize the machine and establish a connection. If the connection fails, check the USB ports, replace the cable if necessary, and ensure that the correct COM port is selected in the software.
Calibration and Testing
Calibrating the K10 Laser Engraver is vital for achieving precise cuts and engravings. Calibration aligns the laser with the software coordinates and adjusts the laser focus for optimal performance.
Laser Focus Adjustment
Adjust the laser focus by moving the laser module closer or further from the material surface. Use a focusing tool or a piece of scrap material to test the laser spot size. A well-focused laser produces a smaller spot size, resulting in finer detail.
Axis Calibration
Calibrate the X and Y axes to ensure accurate movement. Use the software to command the machine to move specific distances and measure the actual movement. Adjust the steps per millimeter settings in the software until the commanded and actual movements align.
Test Engraving
Perform a test engraving on a scrap piece of material. Begin with simple shapes or patterns to verify that the machine operates correctly. Observe the quality of the engraving and adjust settings as needed. Familiarity with laser engraving machines enhances your ability to fine-tune the process.
Safety Precautions and Maintenance
Operating the K10 Laser Engraver safely extends its lifespan and protects the user from potential hazards. Regular maintenance ensures consistent performance and prevents unexpected breakdowns.
Operating Safety
Always wear protective eyewear when operating the laser engraver. Never leave the machine unattended while it’s running. Keep flammable materials away from the workspace and ensure that the ventilation system is functioning properly to remove fumes.
Regular Maintenance
Clean the laser lens and mirrors regularly to prevent residue buildup, which can affect laser performance. Lubricate the moving parts according to the manufacturer’s recommendations. Periodically check all connections and tighten any loose components.
Understanding the importance of maintenance in laser engrave cutting operations can lead to more profitable and efficient use of the machine.
Troubleshooting Common Issues
Even with careful setup and maintenance, you may encounter issues with the K10 Laser Engraver. Knowing how to troubleshoot common problems can save time and prevent damage to the machine.
Laser Not Firing
If the laser does not fire, check the power connections and ensure that the laser module is receiving power. Verify that the laser is enabled in the software settings and that the correct firmware is installed.
Inconsistent Engraving Depth
Inconsistent engraving depth can result from an unfocused laser or uneven material surfaces. Recheck the laser focus and ensure the workpiece is flat and secured. Adjust the laser power settings if necessary.
Software Communication Errors
Communication errors between the software and the machine can stem from faulty cables or incorrect settings. Replace the USB cable and verify the port settings in the software. Reinstalling the software or drivers may also resolve the issue.
Conclusion
Setting up the K10 Laser Engraver involves careful attention to detail in both hardware assembly and software configuration. By following this guide, users can ensure that their machine operates efficiently and safely. Mastery of laser engrave cutting techniques opens up a world of creative and professional possibilities. Regular maintenance and adherence to safety protocols will prolong the machine’s lifespan and enhance the quality of your projects.
Continuing to explore and experiment with different materials and designs can further your understanding and skill in laser engraving. Engaging with communities and staying updated on the latest advancements will keep you at the forefront of this exciting field.