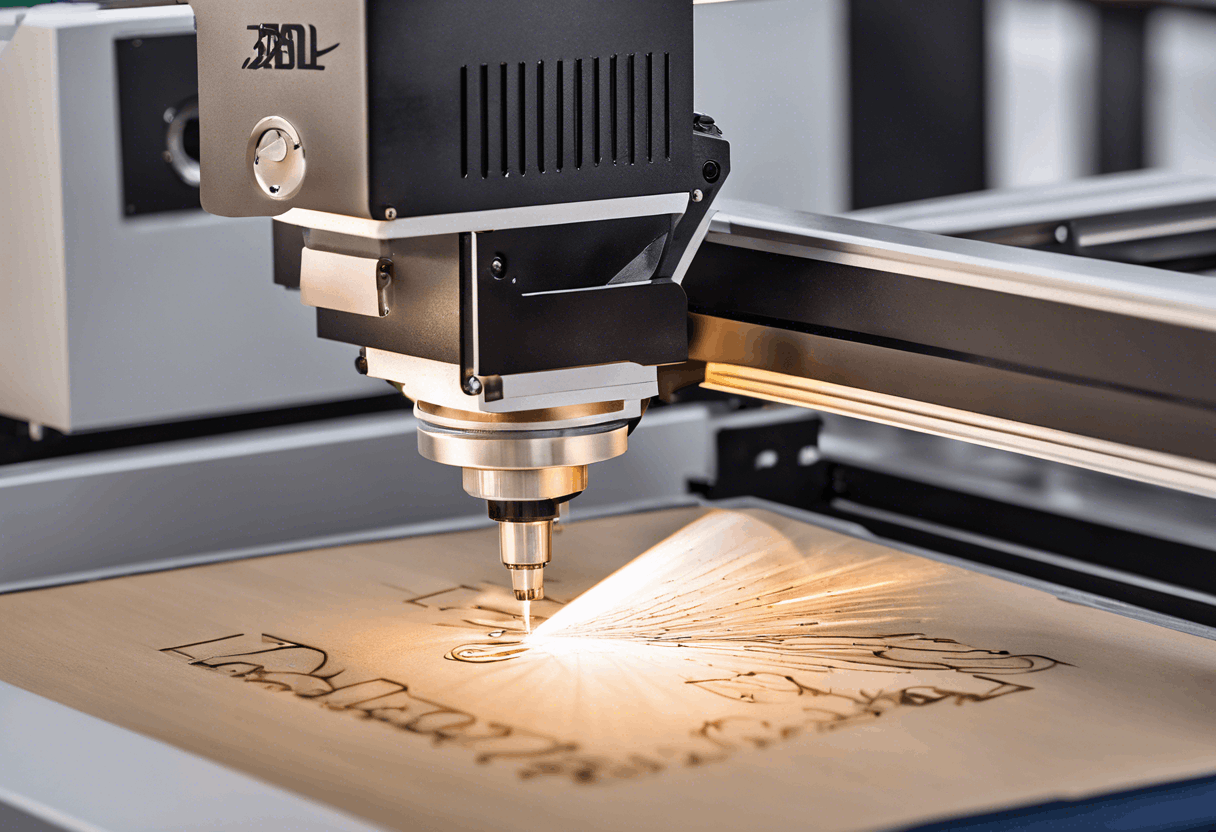
how to make laser engraving machine at home
How to Make a Laser Engraving Machine at Home
Creating a laser engraver machine at home can be a rewarding project for hobbyists and DIY enthusiasts. With the right materials and a bit of technical know-how, you can build a functional laser engraver machine that allows you to personalize and customize various materials. This guide will walk you through the process step-by-step, ensuring you have all the information needed to succeed.
Materials and Tools Needed
Core Components
To build a laser engraver machine, you’ll need the following core components:
- Laser module (preferably a diode laser)
- Stepper motors (for X and Y-axis movement)
- Arduino board (for controlling the machine)
- Motor drivers (to drive the stepper motors)
- Power supply (to power the laser and motors)
- Frame materials (aluminum extrusions or wood)
Additional Tools
In addition to the core components, you’ll need some basic tools:
- Screwdrivers and wrenches
- Wire cutters and strippers
- Soldering iron and solder
- Computer with software for designing and controlling the engraver
Building the Frame
Designing the Frame
The first step in building your laser engraver machine is designing the frame. The frame will hold all the components in place and ensure stability during operation. You can use aluminum extrusions for a sturdy and lightweight frame or opt for wood if you prefer a more accessible material.
Assembling the Frame
Once you have your design, cut the frame materials to the desired lengths and assemble them using screws and brackets. Ensure that the frame is square and level to prevent any issues during engraving.
Installing the Motors and Laser
Mounting the Stepper Motors
Next, mount the stepper motors onto the frame. These motors will control the movement of the laser along the X and Y axes. Secure the motors firmly to prevent any movement during operation.
Attaching the Laser Module
Attach the laser module to the frame, ensuring it is positioned correctly for engraving. The laser should be able to move freely along the X and Y axes without any obstructions.
Wiring and Electronics
Connecting the Motors and Drivers
Connect the stepper motors to the motor drivers, following the manufacturer’s instructions. The motor drivers will control the movement of the motors based on signals from the Arduino board.
Setting Up the Arduino
Install the Arduino board onto the frame and connect it to the motor drivers and laser module. You’ll need to upload firmware to the Arduino that can control the laser engraver machine. Popular firmware options include GRBL, which is widely used for CNC machines and laser engravers.
Software and Calibration
Installing Control Software
On your computer, install software that can communicate with the Arduino and control the laser engraver machine. LaserGRBL and LightBurn are popular choices that offer a range of features for designing and controlling engravings.
Calibrating the Machine
Before you start engraving, you’ll need to calibrate the machine. This involves setting the correct parameters for the laser power, speed, and movement. Follow the software instructions to ensure your laser engraver machine operates accurately and efficiently.
Testing and Usage
Performing Test Engravings
Once everything is set up, perform some test engravings on scrap material to ensure the machine is working correctly. Adjust the settings as needed to achieve the desired results.
Engraving Projects
With your laser engraver machine calibrated and tested, you can start working on your engraving projects. Whether you’re personalizing gifts, creating custom artwork, or marking tools, your homemade laser engraver machine will provide endless possibilities.
Conclusion
Building a laser engraver machine at home is a challenging yet rewarding project. By following this guide and using the right materials and tools, you can create a functional laser engraver machine that allows you to explore your creativity and customize various materials. Remember to always prioritize safety when working with lasers and electronics, and enjoy the process of bringing your DIY laser engraver machine to life.