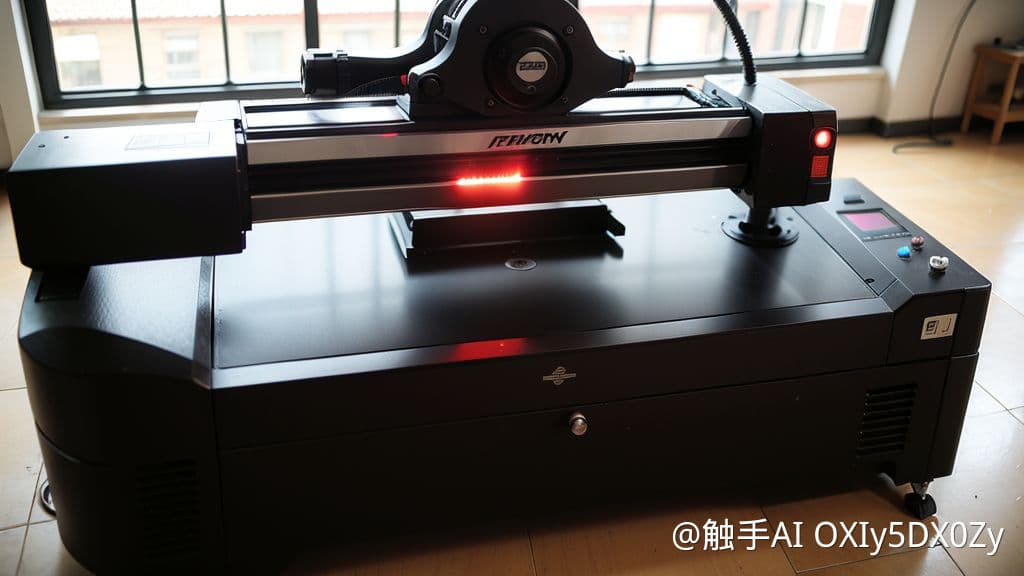
how to engrave photo on laser machine
How to Engrave a Photo on a Laser Machine
Engraving photos on a laser engraver machine can transform ordinary materials into personalized masterpieces. Whether you are a hobbyist or a professional, understanding the process and techniques involved can help you achieve stunning results. This guide will walk you through the steps of engraving a photo on a laser engraver machine, ensuring you get the best possible outcome.
Preparing Your Photo for Engraving
Selecting the Right Photo
Choosing the right photo is crucial for a successful engraving. High-contrast images with clear details work best. Avoid photos with too many shadows or overly bright areas, as these can be challenging to engrave.
Editing the Photo
Before engraving, you may need to edit the photo to enhance its contrast and clarity. Use photo editing software to adjust brightness, contrast, and sharpness. Convert the image to grayscale to better visualize how it will look when engraved.
Resizing and Positioning
Resize the photo to fit the material you will be engraving on. Position the image within the software to ensure it aligns correctly with the laser engraver machine’s work area. Most laser engraver machines come with software that allows you to preview the engraving area.
Setting Up the Laser Engraver Machine
Choosing the Material
Select the material you want to engrave on. Common materials include wood, acrylic, glass, and metal. Each material reacts differently to the laser, so it’s essential to choose one that suits your photo and desired effect.
Adjusting Laser Settings
Set the laser engraver machine’s parameters according to the material and the photo’s details. Key settings include laser power, speed, and resolution. Higher power and slower speed typically result in deeper engravings, while higher resolution captures finer details.
Testing and Calibration
Before engraving the final photo, perform a test run on a scrap piece of the same material. This allows you to fine-tune the settings and ensure the photo engraves correctly. Adjust the laser power and speed as needed based on the test results.
Engraving the Photo
Loading the Material
Place the material securely on the laser engraver machine’s worktable. Ensure it is flat and stable to avoid any movement during the engraving process.
Starting the Engraving Process
Once everything is set up, start the engraving process through the laser engraver machine’s software. Monitor the process to ensure everything runs smoothly. Depending on the complexity and size of the photo, the engraving process can take anywhere from a few minutes to several hours.
Finishing Touches
After the engraving is complete, carefully remove the material from the laser engraver machine. Clean any residue or debris from the engraved surface. For materials like wood, you may want to apply a finish or sealant to protect the engraving and enhance its appearance.
Tips for Best Results
Use High-Quality Photos
High-resolution photos with good contrast yield the best engraving results. Avoid low-quality images that may appear pixelated or blurry when engraved.
Experiment with Settings
Different materials and photos may require different laser settings. Don’t be afraid to experiment with power, speed, and resolution to achieve the desired effect.
Maintain Your Laser Engraver Machine
Regular maintenance of your laser engraver machine ensures consistent performance. Clean the lenses, check the alignment, and replace any worn-out parts as needed.
Conclusion
Engraving a photo on a laser engraver machine is a rewarding process that allows you to create personalized and unique items. By carefully selecting and preparing your photo, setting up your laser engraver machine correctly, and following the engraving steps, you can achieve beautiful and precise results. With practice and experimentation, you’ll master the art of photo engraving and unlock endless creative possibilities.