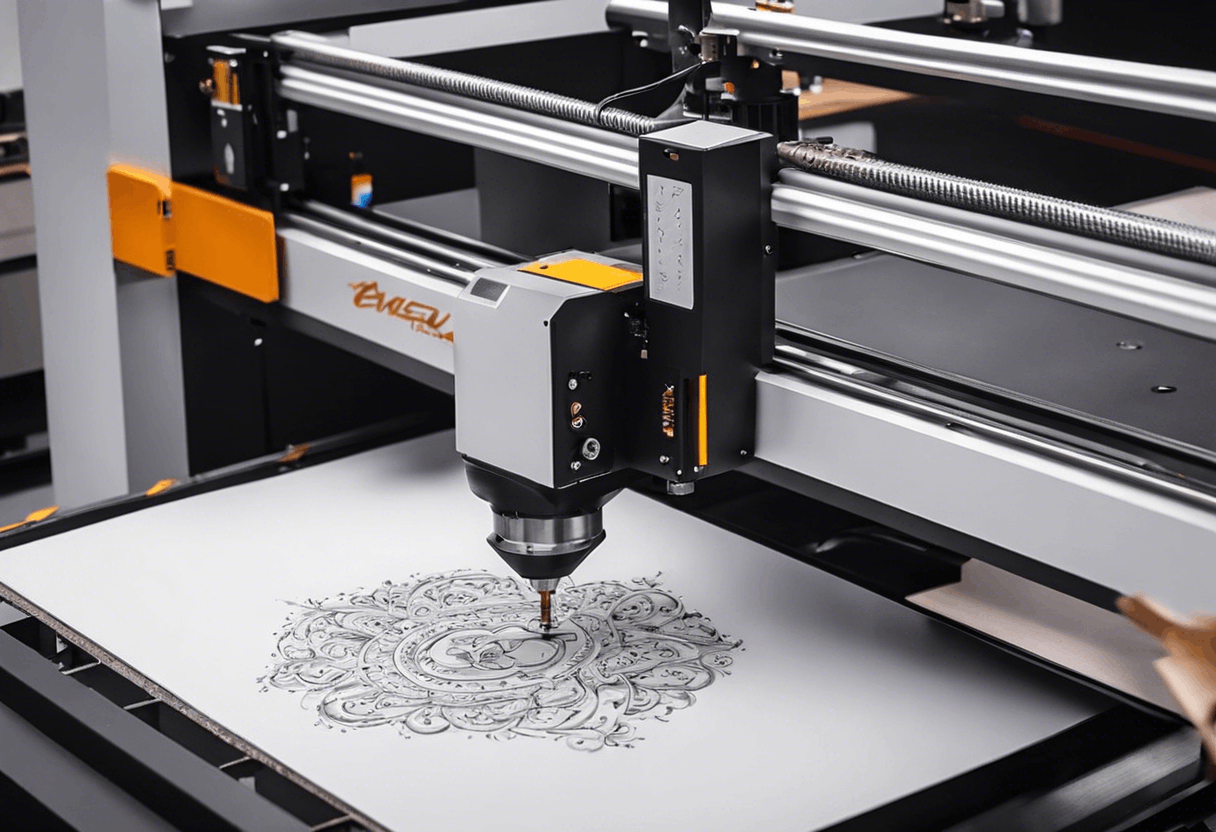
how to use a laser engraving machine
Laser engraving is a process where the laser beam physically removes the surface of the material to expose a cavity that reveals an image at eye level. This creates a cavity in the surface that is noticeable by sight and touch. The process is quick as the excess material is vaporized with each pulse. Several passes may be needed to make deeper marks in the material. The laser creates extremely high temperatures during the engraving process, which essentially causes the material to melt and then vaporize.
Setting Up Your Laser Engraver Machine
Unboxing and Initial Setup
When you first receive your laser engraver machine, carefully unbox it and check for any damages. Ensure that all components are present according to the manual. Place the machine on a stable, flat surface to avoid any vibrations during operation.
Connecting to Power and Computer
Connect the laser engraver machine to a power source. Most machines come with a USB or Ethernet cable to connect to your computer. Install the necessary software that comes with the machine to control the engraving process.
Calibrating the Machine
Calibration is crucial for accurate engraving. Follow the manufacturer’s instructions to calibrate the laser engraver machine. This usually involves setting the focal length and aligning the laser beam with the material surface.
Preparing Your Design
Choosing the Right Software
Most laser engraver machines come with proprietary software, but you can also use popular design software like Adobe Illustrator or CorelDRAW. Import your design into the software and adjust the settings according to the material you will be engraving.
Setting Parameters
Different materials require different settings for optimal engraving. Adjust the power, speed, and frequency settings in the software. For instance, wood may require higher power and slower speed compared to acrylic.
Testing on Scrap Material
Before you start engraving on your final piece, it’s a good idea to test your settings on a scrap piece of the same material. This will help you fine-tune the parameters and avoid any mistakes.
Engraving Process
Loading the Material
Place the material on the engraving bed. Ensure it is flat and secure to prevent any movement during the engraving process. Some machines come with clamps or adhesive mats to hold the material in place.
Starting the Engraving
Once everything is set, start the engraving process through the software. Keep an eye on the machine to ensure everything is running smoothly. The laser engraver machine will follow the design path and engrave the material accordingly.
Multiple Passes for Deeper Engraving
If you need a deeper engraving, you may need to run multiple passes. Adjust the settings to slightly lower the speed and increase the power for each subsequent pass. This will help achieve the desired depth without damaging the material.
Post-Engraving Steps
Cleaning the Engraved Material
After the engraving is complete, remove the material from the machine. Use a soft brush or cloth to clean off any residue or debris. For some materials, you may need to use a mild cleaner to remove any scorch marks.
Inspecting the Engraving
Inspect the engraved design to ensure it meets your expectations. Check for any inconsistencies or areas that may need touch-ups. If necessary, you can run another pass to correct any issues.
Maintaining Your Laser Engraver Machine
Regular maintenance is essential for the longevity of your laser engraver machine. Clean the laser lens and mirrors regularly to ensure optimal performance. Check for any loose components and tighten them as needed. Follow the manufacturer’s guidelines for routine maintenance.
Conclusion
Using a laser engraver machine can be a rewarding experience, allowing you to create intricate designs on various materials. By following the steps outlined above, you can ensure a smooth and successful engraving process. Always remember to prioritize safety and regularly maintain your machine for the best results.